Try It Truck
The Try It Truck is our engineering-lab-on-wheels, bringing hands-on STEAM programming to your school, camp or library! Designed for TK-5th graders, our Try It Truck features a variety of design challenge stations that explore NGSS cross-cutting concepts, such as cause & effect, structure and function, and energy. Using our Think, Make, Try® engineering design process, students will build their problem-solving skills by asking questions, designing prototypes and testing their ideas — all while having a blast!
Registration for 2025-26 School Year Opens August 12, at 8AM
Program Details
Availability: Tuesdays and Fridays
Timing: Up to (3) one-hour sessions per Try It Truck visit.
Grade Levels: We offer age-appropriate stations based on the following groupings: TK, K-2nd and 3rd-5th.
Group Size: Each session can accommodate about 50 students per session (1-2 classrooms), and about 150 students per visit (over 3 sessions).
Price: $1750 per Try It Truck visit (+$100 Travel Fee if located in red area of our Service Map).
Service Area
Check the Service Area Map to see if we can bring the Try It Truck to you.
We travel to yellow and red zone—sites in the red zone include a $100 travel fee.
Try It Truck Requirements
The Try It Truck is a unique experience and requires some special considerations. Prior to booking, please review our Try It Truck Requirements to see if the Truck is the best program fit for your site.
Scholarships
The scholarship rate is $1,050/visit. Scholarships are reserved for Title-1 and other schools and organizations that serve communities with large populations of low-income families (40% or higher).
You can request the scholarship rate directly in the booking form. For all questions regarding financial aid, please contact us at schoolvisits@badm.org.
Community Events
We are able to offer a modified 2-hr drop-in Try It Truck program for community events on a limited basis.
Please reach out to schoolvisits@badm.org for additional information and to check availability.
Designing the Try It Truck
Read our case study on how we built and tested the Try It Truck.
PreK-TK STEAM Workshops at Your Site
Bring early STEAM learning to life for your preschool and TK students! DRDP- and PLF-aligned, PreK-TK STEAM Workshops help little learners build foundational STEAM skills the natural way — through play!
Registration for 2025-26 School Year Opens August 12, at 8AM
Program Details
Availability: Tuesdays and Thursdays
Timing: Each workshop is 40 minutes long and can be scheduled between 9 AM and 3 PM.
Grade levels: Preschool-TK
Group size: Up to 30 students per workshop. Each visit can accommodate up to two workshops.
Price: $585 per workshop(+$50 Travel Fee if located in red area of our Service Map).
Service Areas
Check our Service Area Map to see if we can bring a STEAM Workshop to you.
We travel to yellow and red zones—sites in the red zone include a $50 travel fee.
Scholarships
Scholarships: The scholarship rate is $350/workshop. Scholarships are reserved for Title-1 and other schools and organizations that serve communities with large populations of low-income families (40% or higher). For all questions regarding financial aid, please contact us at schoolvisits@badm.org.
Workshop Themes
Nature Lab: Students explore nature-inspired activity stations, prompted by our inquisitive puppet friend, Naturalist Mo. Students will build science processing skills by asking questions, making observations, and experimenting with tools.
TK Fairy Tale Engineering: Student engineers practice Bay Area Discovery Museum’s Think, Make, Try® engineering design process as they work collaboratively to solve problems for their fairytale friends.
K-3rd STEAM Workshops at Your Site
Bring STEAM learning to life for your elementary students! Our hands-on, NGSS-aligned K-3rd STEAM Workshops encourage exploration, creative problem-solving, and collaboration.
Registration for 2025-26 School Year Opens August 12, at 8AM
Program Details
Availability: Tuesdays and Thursdays
Timing: Each workshop is 60 minutes long and can be scheduled between 9 AM and 3 PM.
Grade levels: K-3rd
Group size: Up to 35 students per session. Each visit can accommodate up to two workshops.
Price: $585 per session(+$50 Travel Fee if located in red area of our Service Map)
Service Areas
Check our Service Area Map to see if we can bring a STEAM Workshop to you.
We travel to yellow and red zones—sites in the red zone include a $50 travel fee.
Scholarships
The scholarship rate is $350/workshop. Scholarships are reserved for Title-1 and other schools and organizations that serve communities with large populations of low-income families (40% or higher). For all questions regarding financial aid, please contact us at schoolvisits@badm.org.
Workshop Themes
Fairy Tale Engineering: Students engineers practice Bay Area Discovery Museum’s Think, Make, Try® engineering design process as they work collaboratively to solve problems for their fairytale friends.
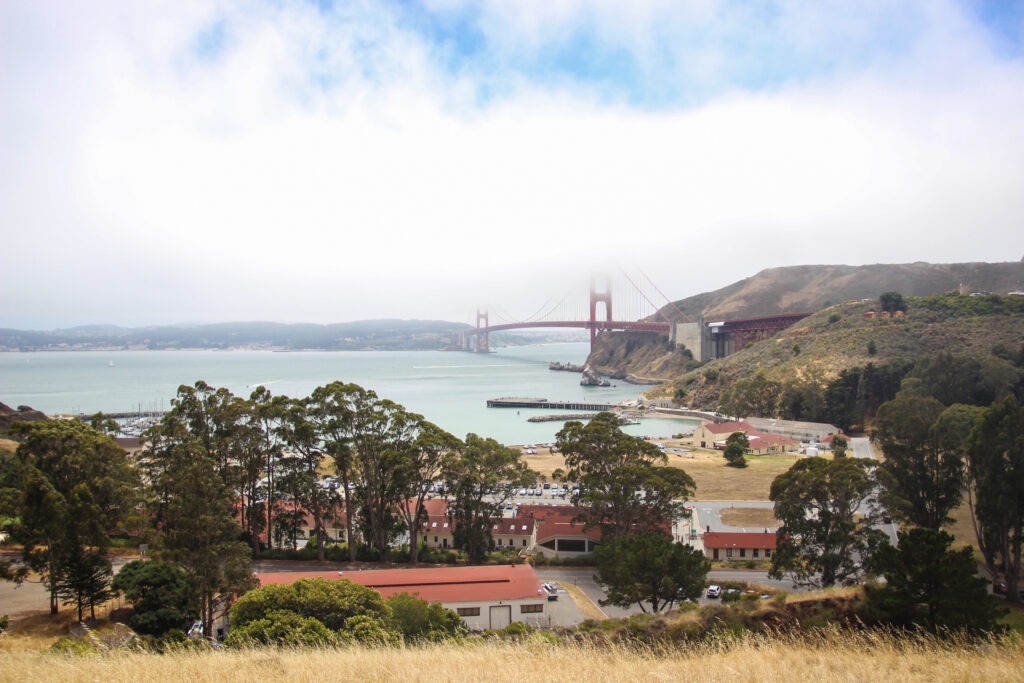
Bridge Builders: Students take on the role of architects, designers and artists as they explore the impact of bridges in our lives. After learning the story of the Bay Bridge, they will use the Bay Area Discovery Museum’s Think, Make, Try® engineering design process to build their own bridges
Thank you, Oracle, for supporting our growing community of future engineers.