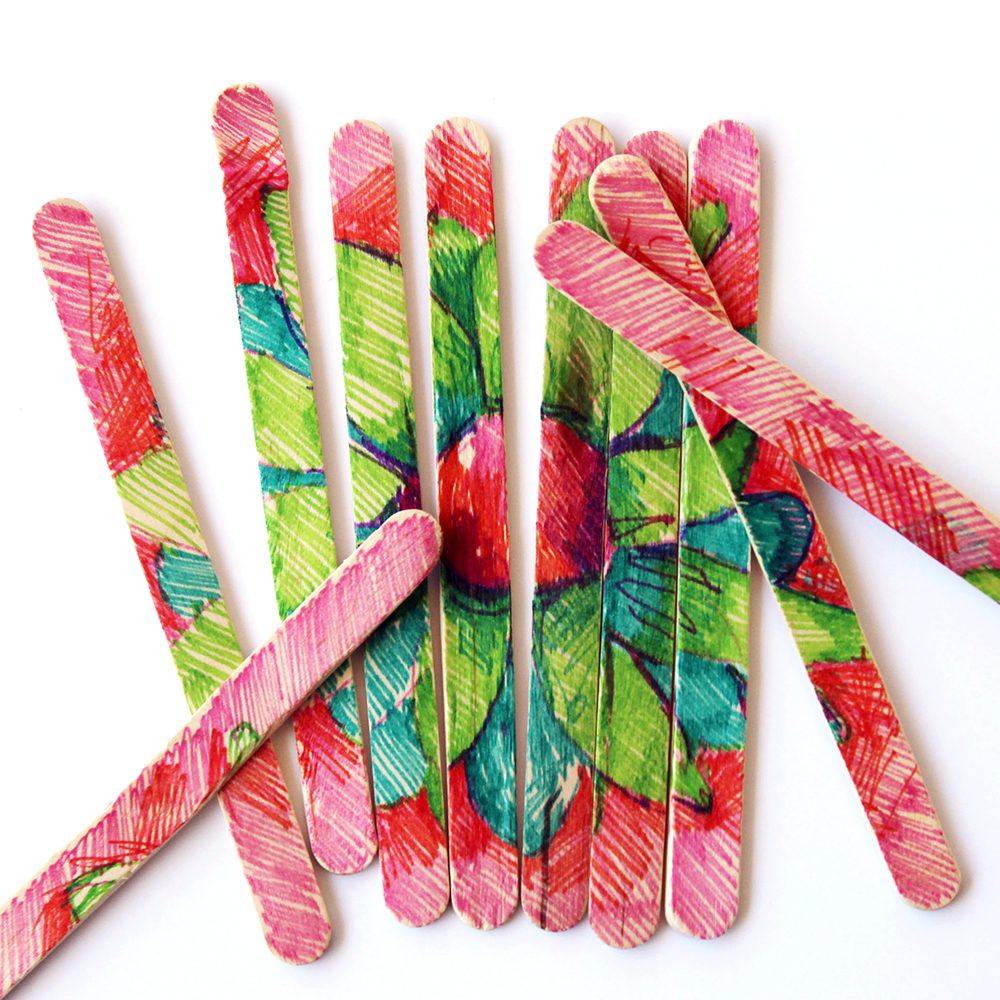
Make a handmade puzzle using popsicle sticks, masking tape, paint, and markers. This activity helps children develop creative thinking skills through pattern recognition.
- 20 popsicle sticks
- Paint
- Markers
- Paint brushes
- Masking tape
- Line up popsicle sticks on a flat surface so they are touching and the ends are lined up evenly, like a fence.
- Cut strips of masking tape and place them across the sticks to keep the sticks together.
- Carefully flip over all the sticks so the tape is on the back.
- Think about what image you would like to create for your puzzle. Will it be simple like a flower or detailed like a dragon flying over a village? Sketch the image on paper.
- Create two puzzles, one on each side of the sticks. To make it easy to tell which sticks go with which puzzle, first paint a solid color on all of the sticks on one side.
- When the background paint on the sticks is dry, use markers or paint to illustrate your paper sketch onto the popsicle sticks. Let the sticks dry.
- Once the sticks are dry, flip them over and remove the masking tape. Put these strips of tape on the other side—flip the sticks over, line them up like before and add the tape.
- Repeat the same steps for the second side of the puzzle.
Try these variations on the activity:
- Write a poem on one side and draw an illustration on the other side of the popsicle sticks.
- Use your puzzle to tell a story. Use the puzzle image as a component of your story. Tell your story verbally to friends and family or write it down.

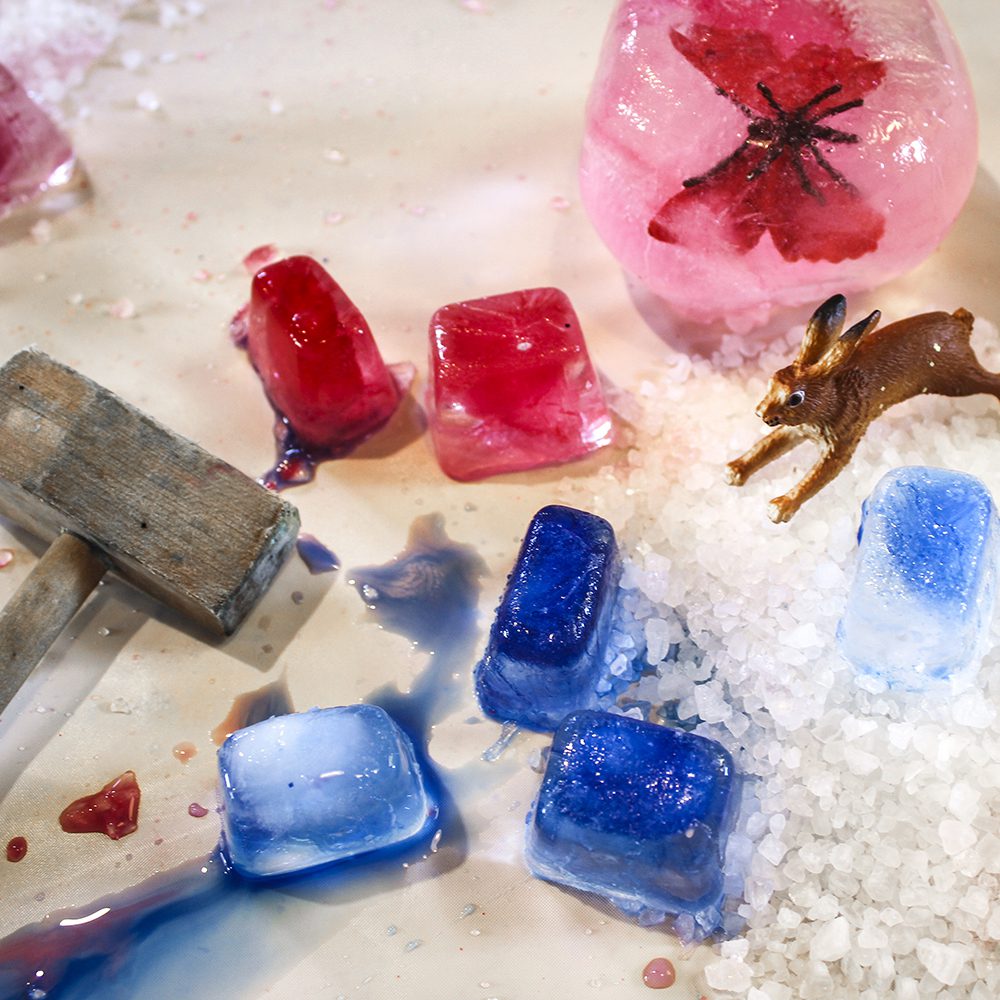
Find the best way to excavate frozen objects! Using a variety of tools, try to get items out of blocks of ice. This activity helps children learn problem solving skills and persistence.
- Items to freeze, such as leaves, shells, sticks, rocks, pennies, etc.
- Plastic containers of different shapes and sizes to freeze the items in
- Large bowls or flat plastic tubs
- Toothbrushes or nail brushes
- Eyedroppers
- Salt
- Towels
- Flashlights
- Water
- Place items like leaves, shells, rocks, and pennies into plastic containers filled with water. Place in freezer.
- Once frozen, pop out the ice cubes and place them into a large bowl or flat plastic tub.
- Look at the materials available as tools. Use these tools to excavate the items out of the ice. Things to consider:
- How will you use each tool?
- What do you think will happen when you use each tool?
- How can you get the items out of the ice?
- What other tools could you use?
- What other techniques could you try?
Try these add-on activities:
- Have an excavation race! Freeze similar items in the same amount of water and race against someone else to see who can get the items out first. Afterwards, discuss how each child got the items out. What was the fastest method? The slowest method? The most creative method?
- Freeze small items in water balloons instead of plastic containers. Place the item in the balloon, fill it with water, and then freeze it. Once it is frozen, cut the balloon off. Excavating objects from a rounded shape is another fun challenge!

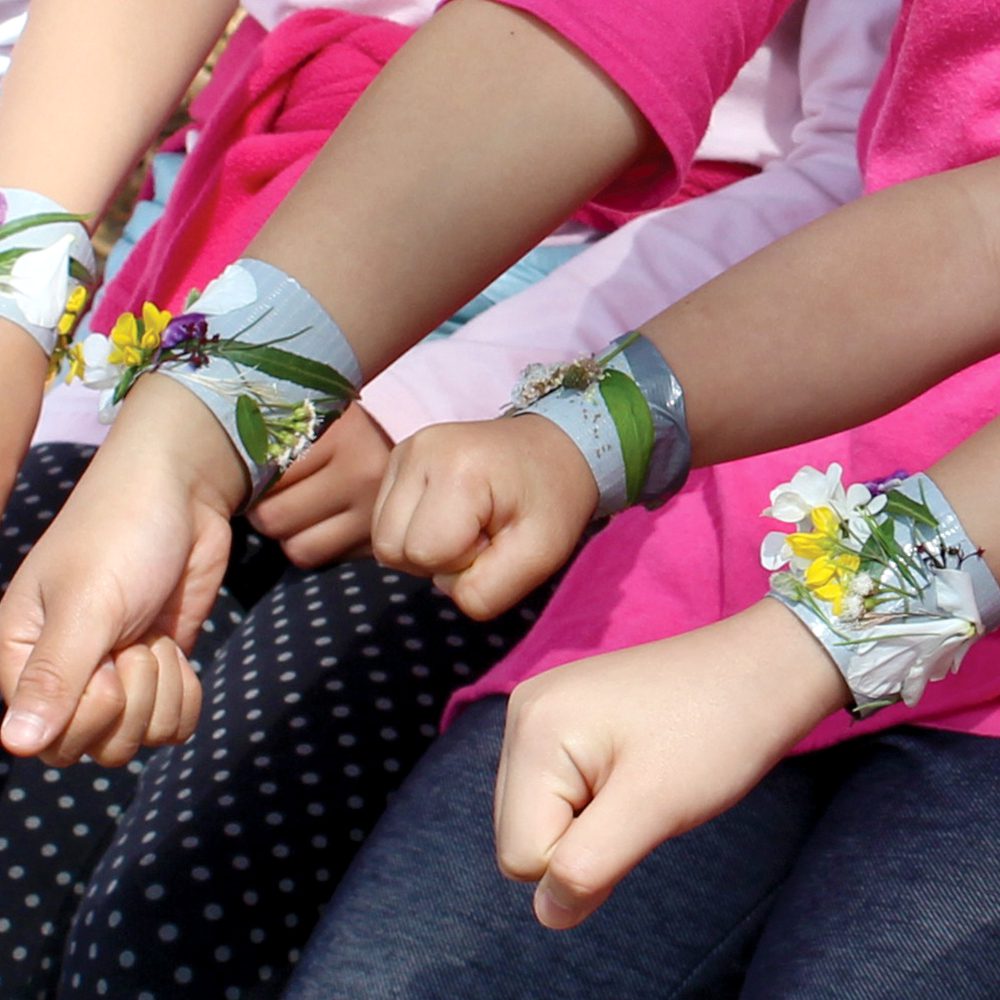
Go on a nature walk and collect materials to create a wristband! On an outdoor walk, look for items that have fallen to the ground like leaves, flower petals, and sand to design and decorate the wristband. This activity helps children practice the act of discovery, an outlet that leads to creativity.
- Painter’s tape, masking tape, or duct tape
- Scissors
- Natural materials like leaves, flower petals, and grass
- Choose an outside place to explore. Go on a nature walk.
- Cut a piece of tape that wraps around your wrist comfortably, plus an extra inch or two.
- With the
sticky side up, wrap the tape around your wrist and secure the ends together.
- During the nature walk, look closely for objects to decorate the wristband with, like leaves, flower petals, sand, or blades of grass. Think creatively about ways to make new patterns with pieces of the natural world. Use items that have already fallen to the ground like leaves, flower petals, etc. Collect unusual colors or shapes for the wristband.
- Press the natural materials into the tape to make a nature wristband.
- Show off the wristband!
- Select a theme for the wristband. For example, only collect and use items that grow from the ground, or items that are yellow.
- Make a wristband for a friend. Think about what they might like on their wristband.


