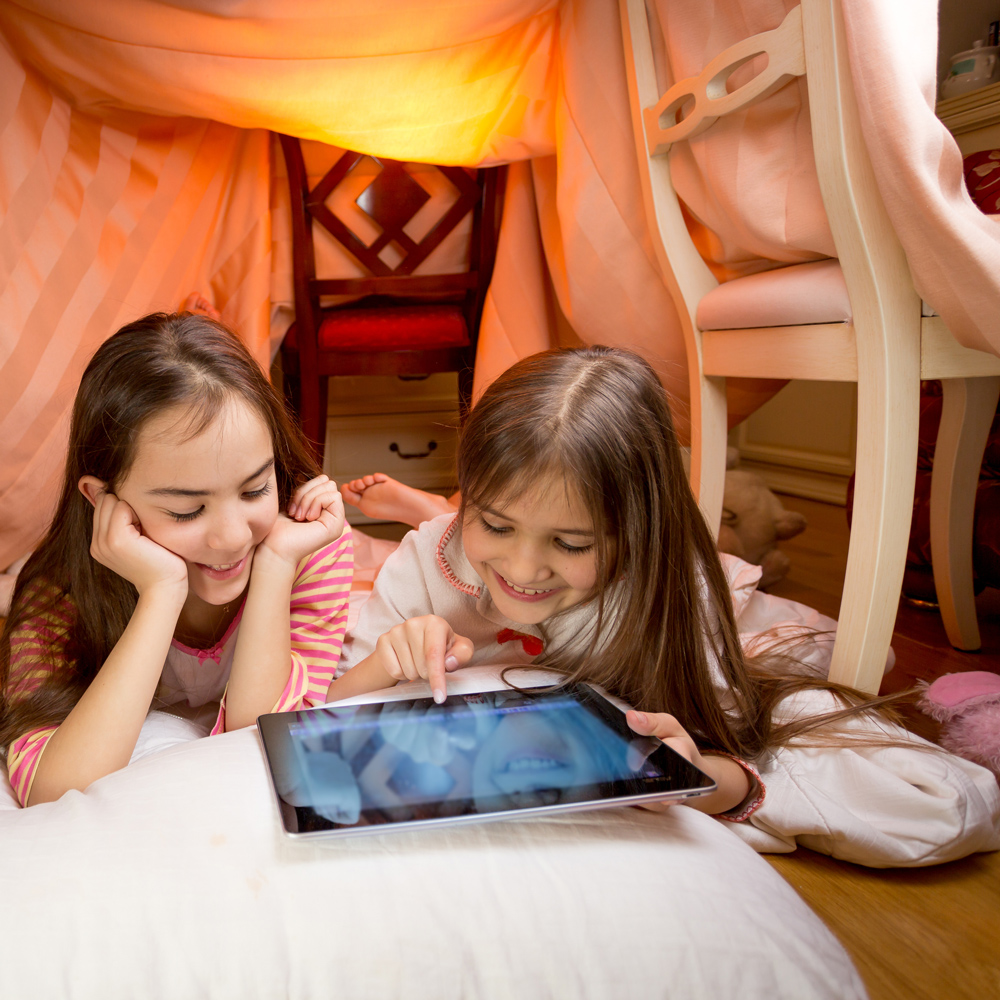
Children use familiar tools and materials in new ways to create a one-of-a-kind fort!
Materials Required
- Furniture (like table, chairs, desk, couch, or bed)
- Blankets, towels, sheets, or other fabric
- Clothespins, binder clips, chip clips, or tape
- String (optional)
- Decorations (optional)
- Paper and something to write with (optional)
Instructions
- Start by planning the fort. Think about how much space is needed and where you can build it. What everyday objects can be used? What activities are done in the fort? Sketch out a plan for the fort and make a list of materials.
- Gather materials, furniture, and decorations for the fort. Adults can help children move furniture or other large, heavy objects around.
- Build the fort. Try putting materials together to create the design. If something falls or slips, think about ways to secure it in a different way to make it stay. Add decorations to make it unique.
- Enter the fort. How does it feel in the fort? Is there anything missing? How can it be improved? Does it need to be bigger?
- Improve the fort. Keep working and changing the design.
Additional Tips
Try these add-on activities:
- After the fort is complete, try building beyond the fort. Try adding a bridge: from one carpet to another, one toy bin to another, or from the couch to a chair.
- Create a smaller fort for a teddy bear or a super tiny fort for a family of lady bugs. What new tools or materials are needed to make a smaller fort?