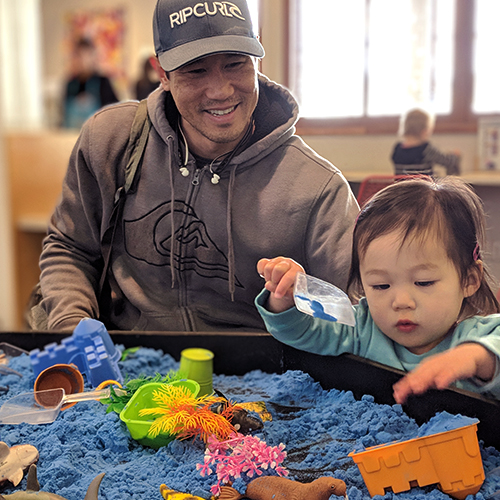
Combine materials and tools to create an immersive sensory experience for young children and encourage their creative, messy play.
Materials Required
- Large bin or trough (e.g. under the bed plastic storage bin)
- Sensory materials, such as:
- Sand
- Dirt
- Water
- Shaving cream
- Rice
- Pom poms
- Tools for sensory table, choose one or a few:
- Measuring cups
- Spoons
- Tongs
- Whisks
- Pipettes
- Small shovels or scoops
- Funnels
- Additional non-chokable materials, choose one or a few:
- Small animal toys
- Gemstones
- Natural materials (rocks, sticks, flowers, sea shells)
- Small foam blocks
- Colored blocks of ice
Instructions
- Fill the bin with one of the sensory materials you’ve chosen. Add one or a few additional non-chokable materials along with a few different types of tools. Have towels, a sink, and/or wet wipes nearby for easy clean-up. This is a great activity to do outside if possible. If inside, a tarp or vinyl mat under the bin helps to contain the mess.
- Allow children to explore and experiment with the materials using their hands or the tools provided. Remind them to keep the materials inside of the bin and to share with friends. Encourage pretend play and observations about the properties of the materials (“This river rock is smooth and slippery!”).
- A few combinations to get started:
- Sand with toy dinosaurs and shovels
- Water with colored, glittery blocks of ice, pipettes and salt shakers
- Shaving cream with foam blocks, scrapers and silicone spatulas
- Pom poms with ice cream scoops and cupcake tins
Additional Tips
Try these add-on activities:
- Get creative! Use books, holidays, or children’s interests as inspiration for a themed sensory table.
- Try using the same materials, but altered in some way. For example, add soap, color, or glitter to the water, turn your dirt into mud, or add a layer of water to the sand!
- Many additional materials can be either made or purchased to use with a sensory table. Try out oobleck, flubber, slime, kinetic sand, or instant snow powder.